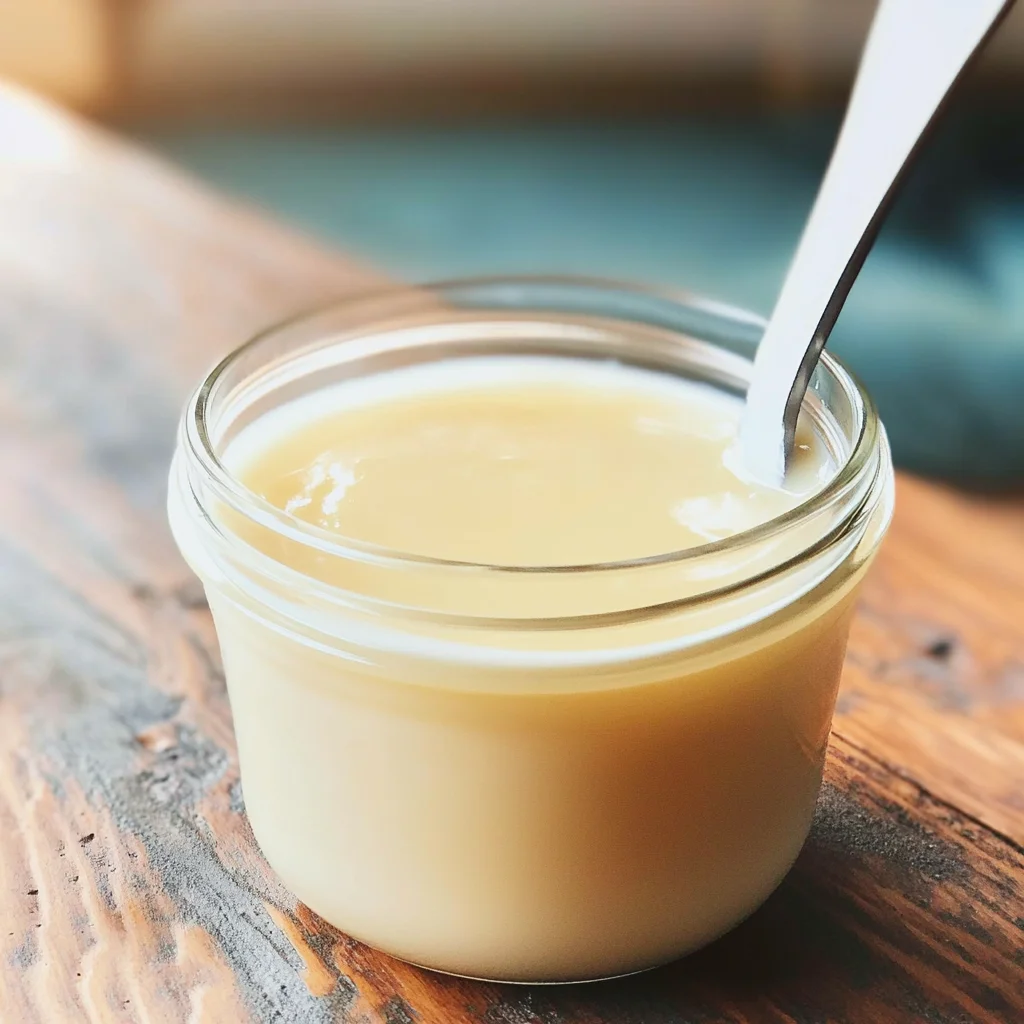
Sugar Free Condensed Milk
Elevate your dessert game with my sugar free condensed milk recipe! This creamy, sweet alternative uses just three key ingredients and boasts only 1 gram of carbs per serving. Perfect for various occasions, this versatile treat adds a delightful touch to desserts, drinks, and more. You won’t believe how easy it is to make!
Why You’ll Love This Recipe
- Simple Ingredients: With only three main components, you can whip this up in no time!
- Low Carb Delight: At just 1 gram of carbs per serving, it’s perfect for low-carb lifestyles.
- Versatile Usage: Use it in coffee, desserts, or as a sauce—it’s delicious anywhere!
- Rich Flavor: Enjoy the creamy sweetness that rivals traditional condensed milk without the sugar.
- Quick Prep Time: Ready in about 11 minutes including cooking time, making it an easy addition to any recipe.
Tools and Preparation
To create your own sugar free condensed milk, you’ll need some basic kitchen tools. Having the right equipment will ensure a smooth cooking process and precise results.
Essential Tools and Equipment
- Small saucepan
- Wooden spoon or spatula
- Measuring cups
- Glass jar or container for storage
Importance of Each Tool
- Small saucepan: Ideal for gentle heating and simmering your mixture evenly.
- Wooden spoon or spatula: Perfect for stirring without scratching your cookware and ensures even mixing.
- Measuring cups: Accurate measurements are crucial for achieving the perfect consistency in your condensed milk.
Ingredients
Elevate your dessert game with my sugar free condensed milk recipe! Made with three key ingredients, it’s creamy, sweet, and tastes like the real thing! Just 1 gram carbs.
For the Condensed Milk
- 2 1/2 cups heavy cream
- 1/4 cup butter
- 3/4 cup granulated sweetener of choice (see notes)
- 1/2 teaspoon vanilla extract (optional)
How to Make Sugar Free Condensed Milk
Step 1: Combine Ingredients
In a small saucepan, add the heavy cream, butter, granulated sweetener, and vanilla extract if using.
Step 2: Heat Mixture
Over medium heat, bring the mixture to a boil. Stir regularly until it starts to simmer. Once it begins to simmer, reduce the heat to very low.
Step 3: Simmer
Let the mixture simmer gently for around 45 minutes. Stir occasionally to prevent sticking.
Step 4: Cool Down
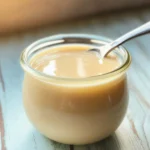
Once the time is up, remove from heat and allow it to cool down completely. After cooling, transfer the sugar free condensed milk into a glass jar or container and refrigerate.
Enjoy your homemade sugar free condensed milk in various desserts or coffee drinks!
How to Serve Sugar Free Condensed Milk
Sugar free condensed milk is a versatile ingredient that can enhance many desserts. It adds creaminess and sweetness without the extra sugar, making it perfect for various dishes.
Drizzle Over Fresh Fruit
- Fresh berries: Pour sugar free condensed milk over strawberries, blueberries, or raspberries for a delightful treat.
- Sliced bananas: Pair with banana slices for a quick and satisfying dessert.
Use in Coffee or Tea
- Creamy coffee: Add a splash of this sweetened milk to your morning brew for a rich flavor.
- Herbal tea: A spoonful can elevate herbal teas, adding sweetness without the calories.
Incorporate into Smoothies
- Breakfast boost: Blend sugar free condensed milk into your morning smoothie for added creaminess and flavor.
- Protein shakes: Enhance your post-workout shake with this delicious ingredient.
Create Decadent Desserts
- Pudding base: Use it as a base for sugar-free puddings or custards.
- Ice cream topping: Drizzle over low-carb ice creams for an extra indulgent treat.
How to Perfect Sugar Free Condensed Milk
To make the best sugar free condensed milk, follow these simple tips to ensure excellent results every time.
- Choose the right sweetener: Select a granulated sweetener that closely resembles the texture and sweetness of sugar for optimal flavor.
- Monitor heat carefully: Keep an eye on the mixture to prevent burning. Stir regularly as it simmers.
- Use high-quality cream: Full-fat heavy cream enhances richness and creates a thicker consistency.
- Allow proper cooling: Let it cool completely before storing in a jar; this will help thicken it further.
- Experiment with flavors: Feel free to add spices like cinnamon or nutmeg for additional flavor variations.
Best Side Dishes for Sugar Free Condensed Milk
Pairing side dishes with sugar free condensed milk can create delicious combinations. Here are some great options to consider:
- Coconut Chia Pudding – Combine chia seeds with coconut milk and let them set overnight for a creamy, healthy dessert.
- Almond Flour Pancakes – Serve fluffy pancakes topped with sugar free condensed milk for a delightful breakfast option.
- Greek Yogurt Parfait – Layer Greek yogurt with fruits and drizzle with sugar free condensed milk for added sweetness.
- Avocado Toast – Spread mashed avocado on whole grain bread and drizzle lightly with sugar free condensed milk for an interesting twist.
- Sugar Free Brownies – Enjoy rich brownies made without added sugars that pair perfectly with a dollop of this sweetened milk.
- Fruit Salad – Toss together seasonal fruits and add sugar free condensed milk for a refreshing salad option.
Common Mistakes to Avoid
Avoiding mistakes can make your sugar free condensed milk turn out perfectly. Here are some common pitfalls to watch for:
- Using the wrong sweetener: Not all sweeteners behave the same way. Choose a granulated sweetener that measures like sugar for the best results.
- Not stirring enough: Failing to stir regularly can lead to scorching. Stir every few minutes to maintain an even texture and prevent burning.
- Rushing the simmering process: Skipping the slow simmer can result in a thin consistency. Allow it to simmer on low heat for the full 45 minutes.
- Skipping cooling time: Pouring hot condensed milk into a jar can cause condensation and spoilage. Always let it cool completely before storing.
- Improper storage containers: Using non-airtight containers can affect freshness. Opt for glass jars with tight-fitting lids for optimal storage.
Storage & Reheating Instructions
Refrigerator Storage
- Store in an airtight glass jar to keep it fresh.
- It will last for up to one week in the refrigerator.
Freezing Sugar Free Condensed Milk
- Pour into ice cube trays or silicone molds for easy portions.
- Freeze for up to three months; just ensure it’s well-sealed.
Reheating Sugar Free Condensed Milk
- Oven: Preheat to a low setting, place in a suitable dish, and reheat slowly.
- Microwave: Heat on medium power in short bursts, stirring frequently.
- Stovetop: Warm over low heat while stirring until just heated through.
Frequently Asked Questions
Here are some commonly asked questions about sugar free condensed milk:
What is Sugar Free Condensed Milk?
Sugar free condensed milk is a creamy, sweet alternative made without sugar, perfect for desserts.
How do I use Sugar Free Condensed Milk?
You can use it in coffee, baking, or as a topping for desserts and fruit.
Can I customize my Sugar Free Condensed Milk?
Absolutely! You can add flavors like cocoa powder or almond extract for variety.
How long does Sugar Free Condensed Milk last?
When refrigerated, it lasts up to one week. If frozen, it can last up to three months.
Final Thoughts
This sugar free condensed milk recipe is not only simple but also highly versatile. You can use it in various desserts or as a sweetening agent in your favorite dishes. Don’t hesitate to experiment with different flavors and see how you can personalize this delightful treat!
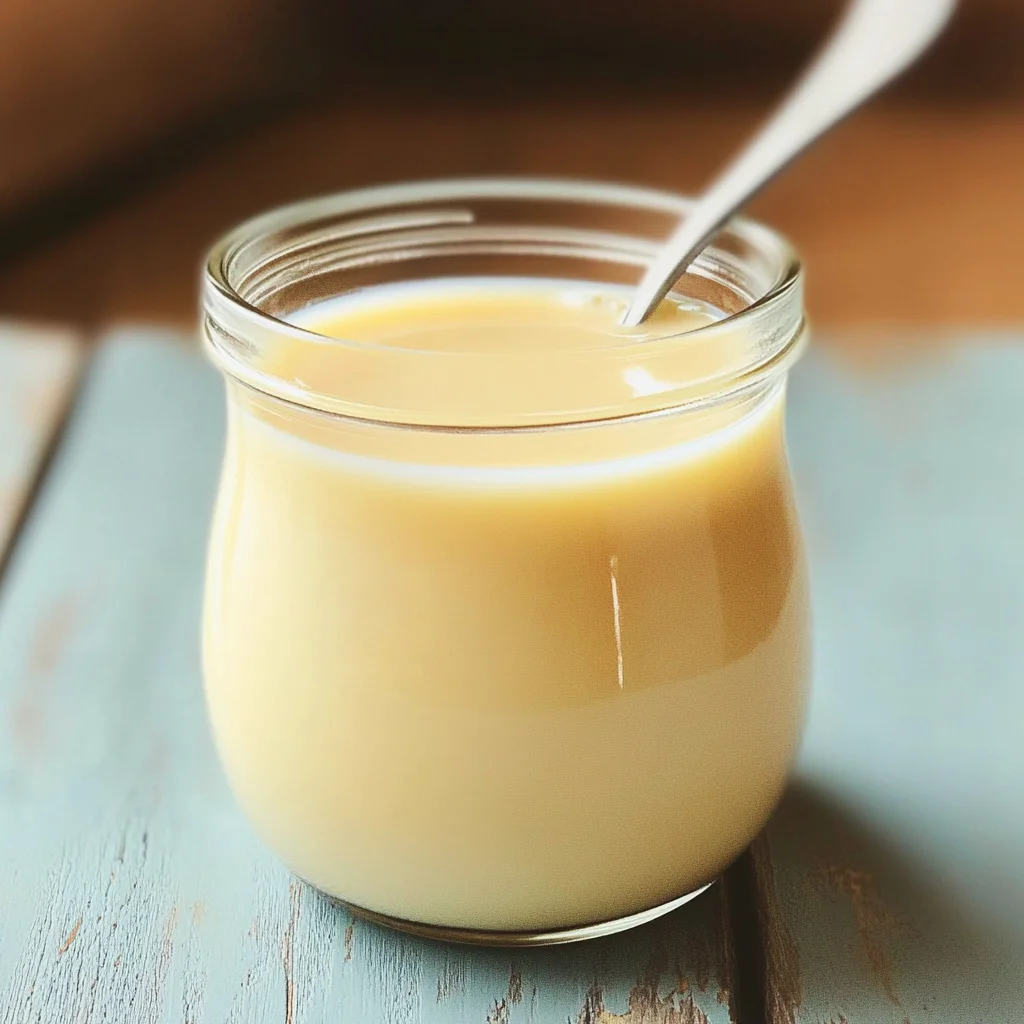
Sugar Free Condensed Milk
Elevate your dessert game with homemade sugar-free condensed milk! This rich and creamy alternative is not only a low-carb delight but also incredibly easy to make, requiring just three simple ingredients. At only 1 gram of carbs per serving, it’s perfect for enhancing your favorite desserts, coffee drinks, or even as a topping for fresh fruit. With its sweet, luscious flavor that rivals traditional condensed milk without the sugar, this recipe is a must-try for anyone looking to indulge without the guilt. Ready in about 11 minutes, you can whip up a batch and keep it on hand for all your culinary creations.
- Prep Time: 5 minutes
- Cook Time: 6 minutes
- Total Time: 11 minutes
- Yield: About 12 servings 1x
- Category: Dessert
- Method: Sauce
- Cuisine: American
Ingredients
- 2 1/2 cups heavy cream
- 1/4 cup butter
- 3/4 cup granulated sweetener of choice (such as erythritol or monk fruit)
- Optional: 1/2 teaspoon vanilla extract
Instructions
- In a small saucepan, combine heavy cream, butter, granulated sweetener, and vanilla extract (if using).
- Heat over medium until boiling, stirring regularly. Once boiling, reduce heat to low.
- Simmer gently for about 45 minutes, stirring occasionally to prevent sticking.
- Remove from heat and let cool completely before transferring to an airtight glass jar. Refrigerate.
Nutrition
- Serving Size: 1 serving
- Calories: 120
- Sugar: 0g
- Sodium: 30mg
- Fat: 12g
- Saturated Fat: 7g
- Unsaturated Fat: 5g
- Trans Fat: 0g
- Carbohydrates: 1g
- Fiber: 0g
- Protein: 0g
- Cholesterol: 40mg